
How to Teach Your Dog to 'Leave It' (a Cue That Can Save Their Life)
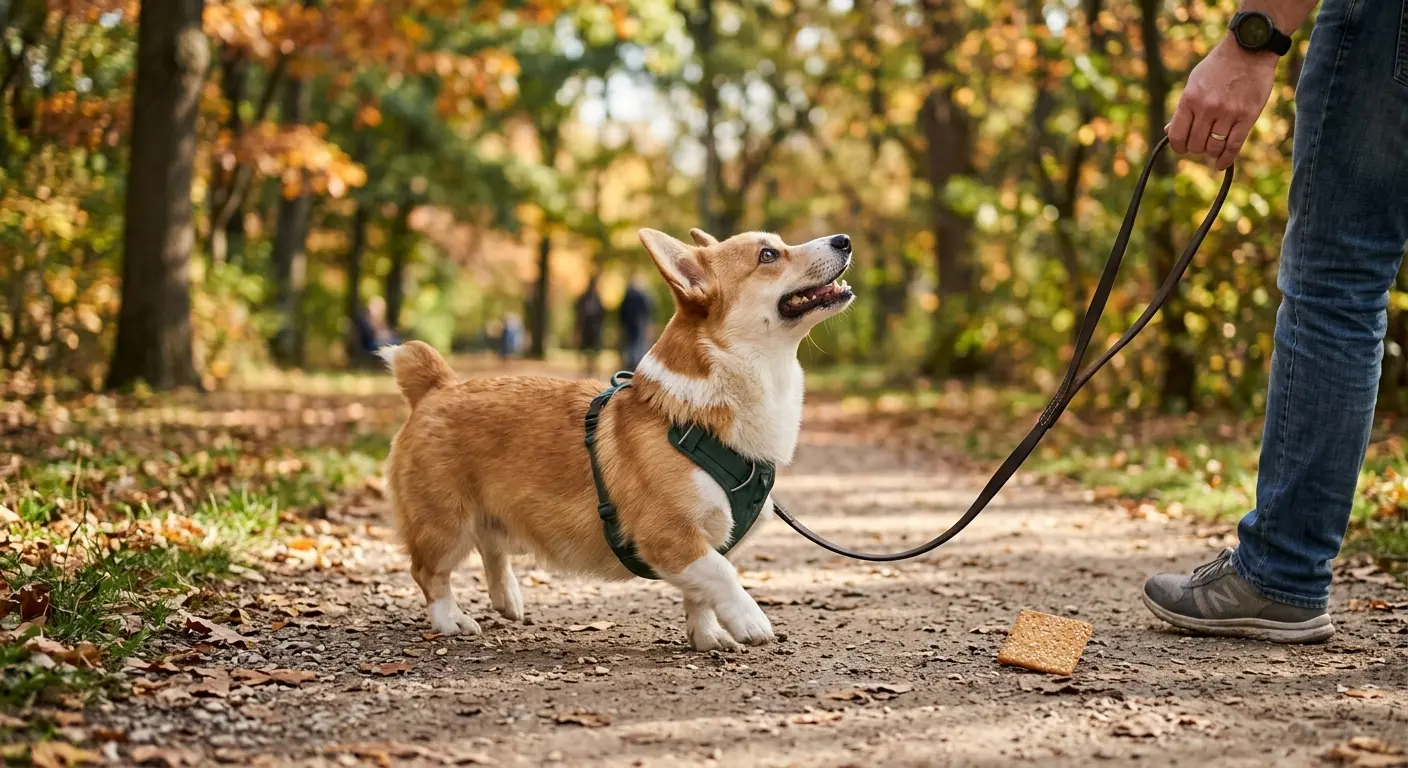
Some cues are about manners. “Leave it” is about safety. It’s the word that stops your dog from snatching the dropped ibuprofen, the chicken bone on the pavement, or the something-dead they just found in the long grass — before it’s in their mouth. Taught well, it buys you the half-second that matters.
The good news: it’s one of the most satisfying things to teach, because you can watch your dog choose to walk away from food. And you build that choice without ever prising anything out of them or telling them off.
The one idea that makes it work
“Leave it” works because leaving a thing alone becomes the most rewarding option available. Your dog learns a simple deal: ignore that, and something even better comes from me.
That means one rule matters above all others: your dog never gets the thing they left. They backed off the treat on the floor? Great — they get paid, but from your other hand, with a different (ideally better) treat. If leaving something sometimes earns them that very thing, you’ve taught them that staring at it long enough is a winning strategy. Keep the reward separate and the cue stays rock solid.
Leave it vs. drop it — two different cues
People mix these up, and it matters, because they solve different problems:
| Cue | When you use it | What you’re asking |
|---|---|---|
| Leave it | The thing is on the floor / in the world, not yet in their mouth | ”Don’t pick that up.” |
| Drop it | The thing is already in their mouth | ”Open up and let it go.” |
Teach both — they’re a team. This post is about leave it. If your dog already has something, don’t lunge for it (more on that below); that’s a job for “drop it” or a trade.
Step 1: The closed fist
Start somewhere boring and quiet, with a handful of ordinary treats plus a few really good ones (cheese, chicken) set aside as the “payment.”
- Put an ordinary treat in your fist and hold it out, closed.
- Your dog will sniff, lick, nibble, maybe paw at it. Say nothing. Just wait.
- The instant they stop and pull their nose back — even for a second — mark it (“yes!”) and feed a better treat from your other hand.
- Repeat until they back off the fist quickly and easily.
You’re not saying “leave it” yet. You’re teaching the underlying choice: pushing at the food does nothing; backing off makes good things happen.
Step 2: Add the words
Once your dog reliably backs off the closed fist, start saying “leave it” calmly, once, just as you present it. Back off → mark → pay from the other hand. Say the cue a single time; repeating “leave it, leave it, leaaave it” only teaches your dog that the word is background noise.
Step 3: Open your hand
Now raise the difficulty. Hold the treat on a flat, open palm and say “leave it.”
- If they go for it, simply close your hand before they get it — no telling off, just calmly remove the opportunity. Try again.
- The moment they hesitate or look away, mark and pay from the other hand.
This is the turning point: your dog is now choosing to leave food they could physically grab.
Step 4: Down to the floor
Put the treat on the floor and keep your hand (or foot) hovering ready to cover it.
- Say “leave it” and lower the treat to the ground.
- Cover it if they dive; uncover when they back off.
- Mark the moment they leave it and pay — again, from your hand, never the treat on the floor.
- Over several sessions, work up to leaving it uncovered on the floor while you stand fully upright.
Go at your dog’s pace. If they keep failing, you’ve made it too hard too fast — shrink the step.
Step 5: Take it on the road
A living-room “leave it” isn’t much use if it falls apart on a walk. Generalise it deliberately:
- Drop things on purpose at home and cue “leave it” as they fall.
- Practise walking past a treat placed on the floor.
- Move outdoors, where the world is more tempting — start in the garden, then a quiet street.
- Build up to the real thing: cueing “leave it” as you approach litter, another dog’s mess, or a dropped sandwich on the pavement, and rewarding heavily when they check in with you instead.
Keep paying well out in the world for a long time. Competing with a discarded kebab is genuinely hard, and your dog needs a reason to think you’re the better bet.
If your dog grabs something dangerous anyway: don’t chase or grab at their mouth. Chasing turns it into a game, and lunging can make them gulp it down faster. Stay calm and trade up — cheerfully offer something clearly better (a handful of treats scattered on the floor, a favourite toy) so they spit out what they have to take the deal. Then, if it could be toxic — medication, chocolate, xylitol gum, grapes — call your vet or an animal poison line straight away.
Why not just take it away?
Snatching things out of your dog’s reach, prising open their jaws, or scolding them teaches a different, worse lesson: humans near my stuff are a threat. That’s exactly how resource guarding starts — the growling, the gulping-it-down-before-you-get-there, the stiffening over a bone. Force-free “leave it” avoids all of that, because from your dog’s point of view, your hand approaching has always predicted better things, not loss.
Keep it short, keep it winnable
A minute or two, a few times a day, beats one long drill. End while your dog is still succeeding, and make the next rep easy if one falls apart. A cue built on lots of small wins is the one that holds up when a chicken bone appears out of nowhere.
Practise it with Ruffy
Knowing the steps is one thing; knowing when to move from the closed fist to the open hand to the pavement is what keeps it working. The Ruffy app turns “leave it” into short, guided, force-free sessions that raise the difficulty at the right moment — so you’re always working one step ahead, never setting your dog up to fail.
Download Ruffy free and teach the cue you hope you’ll never need — but will be very glad your dog knows. 🐾
Keep reading
How to Teach Your Dog to Lie Down (the 'Down' Cue)
Down is the calm off-switch of dog training — for the vet, the café, the front door. Here's the force-free way to lure it, fade the treat, and add the word so it actually holds.
How to Teach Your Dog to Sit (Without Pushing on Their Bottom)
Sit is the first cue most dogs learn — and the one people teach with the least reliable method. Here's the force-free way to get a fast, happy sit in a few short sessions, and how to make it stick.
How to Teach Your Dog to Stay (the Three D's Method)
A reliable stay isn't about your dog freezing on command — it's a skill you build in three directions. Here's the force-free method trainers use, step by step, with the mistakes that quietly undo it.